Using the Actor Portrait
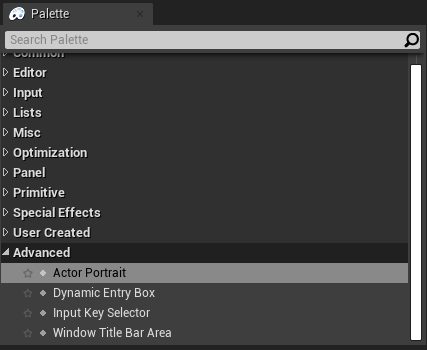
You can find the Actor Portrait widget in the Advanced Section in the Designer Palette.
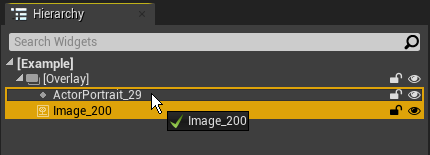
To add a child widget to your Portrait, simply drag the desired widget onto the portrait widget, as you would with any other container. The Portrait supports up to one child widget.
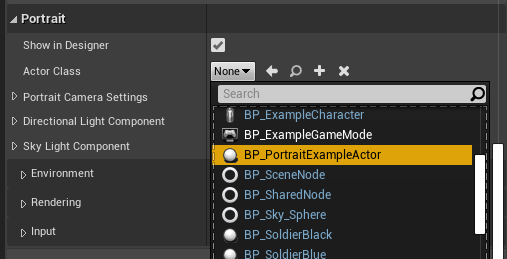
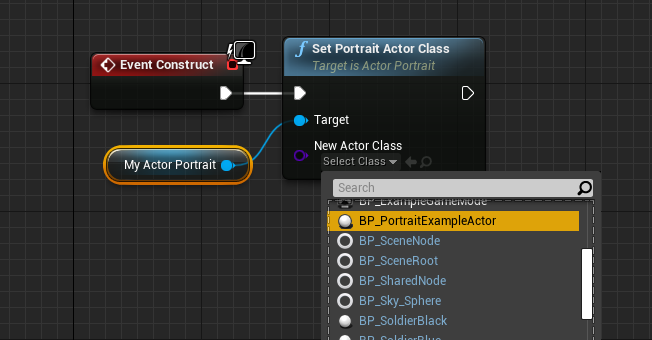
To select which actor to display, simply choose the desired actor class from the details panel.
The actor class can also be changed at runtime using the Set Portrait Actor Class blueprint node.
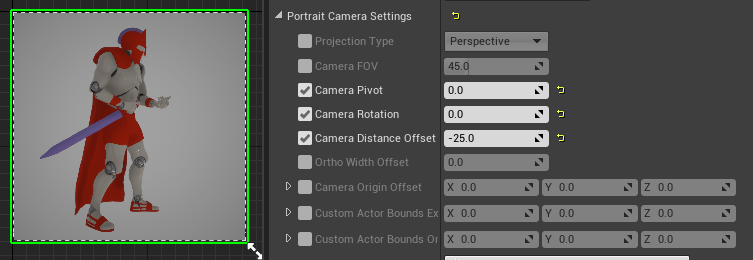
Framing the camera
You can set the default camera framing using the Portrait Camera Settings in the details panel.
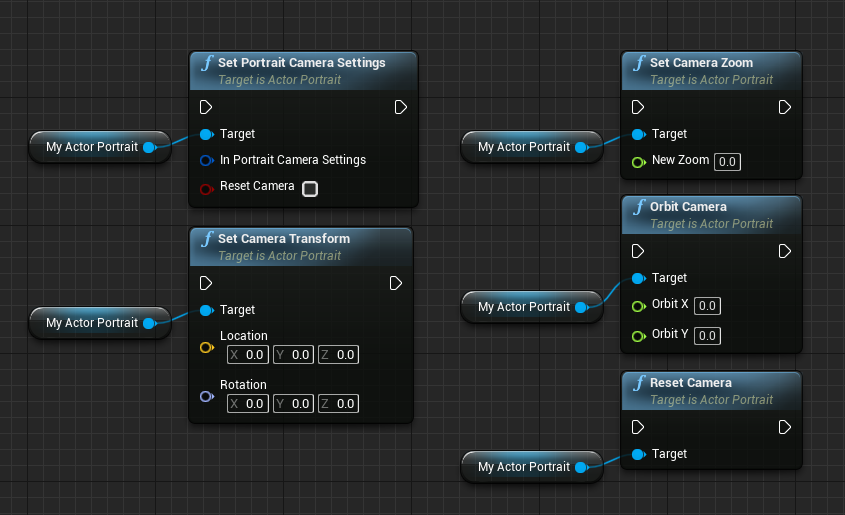
The camera can also be controlled at runtime using various blueprint nodes.
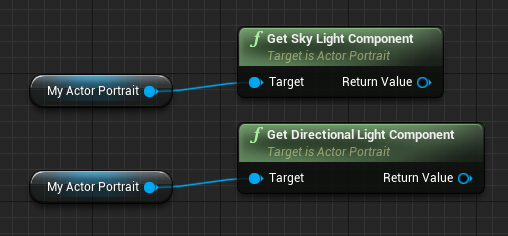
Lighting
The Actor Portrait gives you direct access to the lighting components in the portrait scene via the details panel.
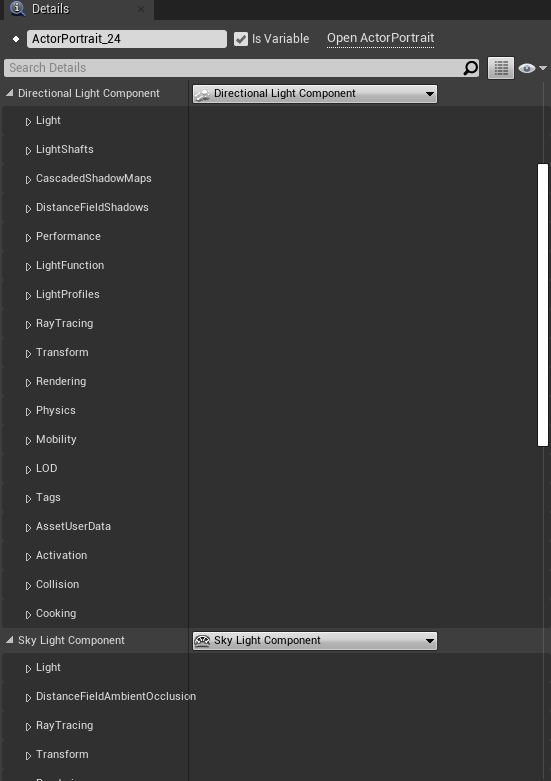
They can also be accessed at runtime via the Get Sky Light Component and Get Directional Light Component blueprint nodes.
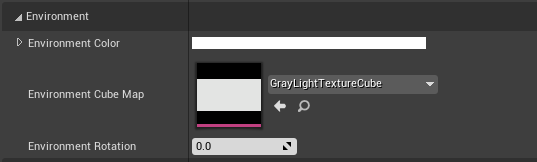
Environment
The background of the portrait can be modified in the Portrait/Environment section in the details panel. To remove the background, simply set the Environment Cube Map to None.
Rendering
For more fine-grained control over how the portrait is rendered, you can modify the properties in the Portrait/Rendering section. Here you can also find the Is Real Time property which if disabled, will cause the portrait only to render once, which can greatly improve performance if your actor is not animated. (Note: the portrait will automatically re-render if the camera moves, or any property which affects the scene is modified).
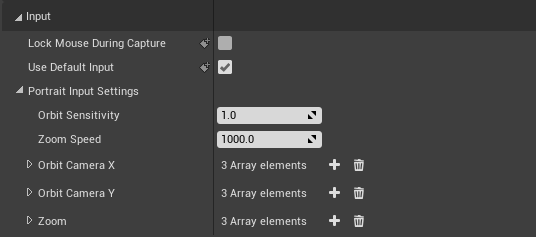
Input
The Actor Portrait comes with some default input behaviour which allows the user to rotate + zoom in the portrait. In the Portrait/Input section you can modify the behaviour of this default input system. If you do not wish to use this default input, or would like to write your own, you can disable it by un-checking the Use Default Input boolean property.
All the functions used to implement the default behaviour can be overridden in the Events section.
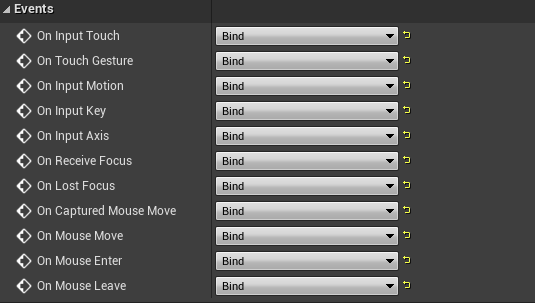
Here is an example of how to use these functions:
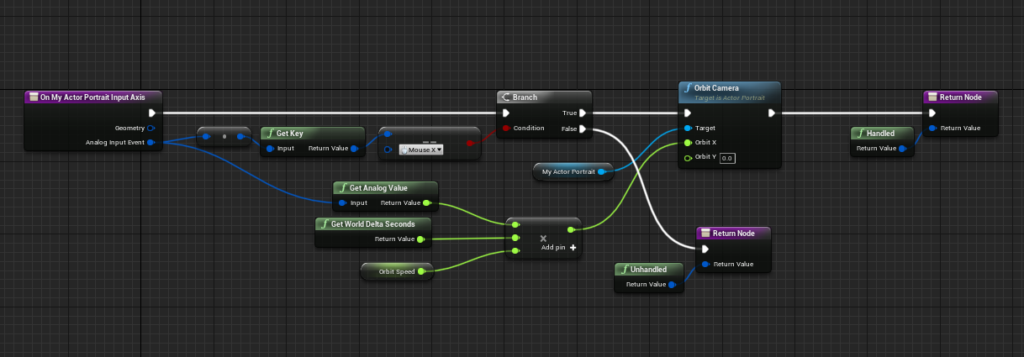
Returning handled on any of these events will override the default input for that event, if the default input is enabled.
Advanced
It is possible to change which blueprint is used as a sky sphere. This can be done in the Advanced section.

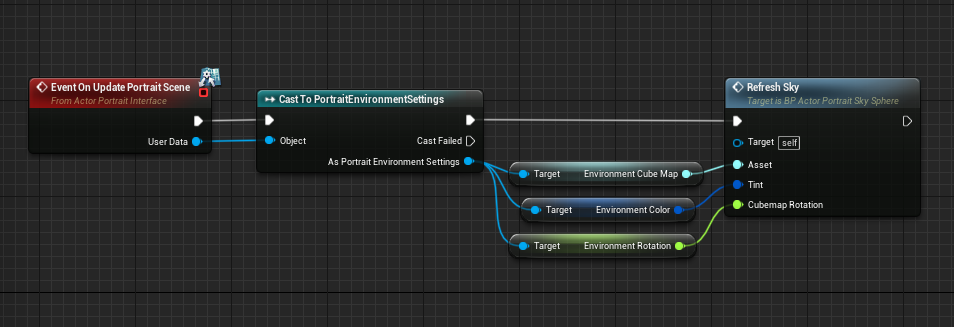
The portrait will spawn one instance of the class supplied within the scene. If this class implements the Actor Portrait Interface the Event On Update Portrait Scene will be called on the actor whenever any property which affects the scene is changed. The event will also pass an instance to a User Data object, this object is modified in the details panel and is by default a PortraitEnvironmentSettings object. Changing this object will cause the Environment section to be replaced with whatever properties exist on the selected object class.
Here is the default implementation of the BP_ActorPortrait_SkySphere